To add multiple student records to the Portal at once, you can upload a file containing student information. The file must be in the comma‑separated value (.csv) format and the fields in the file must be in specific columns. After a file is uploaded successfully, the students can be added to test sessions.
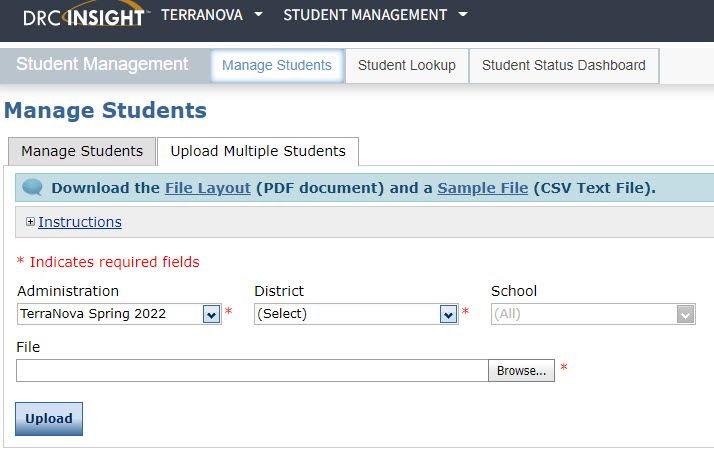
- Click Student Management then Manage Students to display the Manage Students page. Select the Upload Multiple Students tab.
- The Upload Multiple Students tab contains links to both a sample PDF file that contains instructions and a sample .csv file that you can use to create the actual file.
Click the Download the File Layout link to display the Upload Multiple Student File Layout — TerraNova.pdf file.
This file displays the required layout of the .csv file you will upload to DRC with rules, instructions, and examples describing how to create and format the file. - Click the Sample File link to download or display the TRSampleStudentFile.csv file.
This file is only a sample of the type of file you will upload to DRC.
Depending on the browser you are using, a dialog box may appear, allowing you to open or download the file. - Use the TRSampleStudentFile.csv file to create, rename, and save a student file to upload.
Note: Be sure to keep the header column rows in the file you upload. - After you have created a student file, click Browse... to locate it, select the file, and click Open to display it in the File field of the Upload Multiple Students tab.
- Click Upload. A message displays indicating the file has been transferred and is being checked for errors.
After the file has been validated, you can review its status. If the file contains an error, a message displays. You must correct all errors and repeat Steps 5 and 6.